Unlock the secret to the most succulent, flavorful chicken you've ever tasted with our foolproof guide to beer can chicken. This isn't just a quirky grilling trend; it's a culinary revelation that consistently delivers incredibly juicy meat and perfectly golden, crispy skin. Whether you're a seasoned pitmaster or firing up the grill for the first time, mastering this technique will elevate your outdoor cooking game and make you the hero of any backyard barbecue. Prepare to impress your friends and family with a chicken so tender, it practically falls off the bone.
The Science Behind the Sizzle: Why Beer Can Chicken Works Wonders
At first glance, perching a whole chicken on an open can of beer might seem like a gimmick, but there's solid culinary science at play. The magic of beer can chicken lies in a brilliant combination of steam, vertical roasting, and indirect heat. As the beer inside the can heats up, it creates a continuous stream of aromatic steam that permeates the chicken from the inside out. This internal basting mechanism is the primary reason the meat stays exceptionally moist and tender, preventing it from drying out during the cooking process. Think of it as a built-in humidifier for your poultry.
Beyond the internal moisture, the vertical roasting position plays a critical role in achieving culinary perfection. By standing upright, the chicken allows heat to circulate more evenly around its entire surface, promoting uniform cooking and crisping. This orientation also encourages fat to drip away, not only reducing greasiness but also minimizing flare-ups on the grill. The result is consistently cooked meat and that highly sought-after, gloriously crispy skin. While some believe the beer itself imparts significant flavor to the meat, its main contribution is actually the moist cooking environment it creates. The aluminum can simply serves as a stable, convenient vessel to hold the liquid and keep your bird upright, doubling as an ingenious steam generator. For a deeper dive into the mechanics, read Unlock Juicy Perfection: The Beer Can Chicken Technique Explained.
Laying the Foundation: Choosing Your Bird & Crafting Your Rub
Success with beer can chicken begins long before it hits the heat. Thoughtful selection of your ingredients and a robust seasoning strategy are paramount.
Selecting the Perfect Chicken
- Size Matters: Aim for a fresh, whole chicken weighing between 3.5 to 5 pounds. This size fits comfortably over a standard 12-ounce beer can and cooks evenly within a reasonable timeframe. Larger birds can be trickier to balance and may require significantly longer cooking times.
- Skin Integrity: Choose a chicken with intact skin, free from tears or punctures. The skin acts as a protective barrier, helping to seal in moisture and contribute to that coveted crispy exterior.
- Fresh vs. Frozen: While fresh is always preferred, a properly thawed frozen chicken will also work beautifully. Ensure it's fully thawed before beginning preparation to guarantee even cooking.
The Beer: More Than Just a Beverage
While the primary role of the beer is to provide steam, your choice can subtly influence the aroma and overall experience. Fuller-bodied lagers, ales, or stouts tend to perform better than light beers due to their slightly higher liquid content and more robust aromatics. Feel free to experiment with different varieties to find your personal favorite. You can also use chicken broth, apple cider, or even a non-alcoholic beer for similar steaming effects if you prefer to avoid alcohol. Don't forget the unwritten rule of beer can chicken: the other half of the can of beer is for the cook to enjoy while preparing dinner!
Mastering the Seasoning Blend
The seasoning blend is where the flavor truly comes alive. While a basic salt, pepper, and garlic powder rub is a great starting point, don't be afraid to get creative. A delicious basic rub might include:
- 2 tablespoons smoked paprika
- 1 tablespoon brown sugar
- 1 tablespoon garlic powder
- 1 tablespoon onion powder
- 1 teaspoon black pepper
- 1 teaspoon dried oregano
- 1 teaspoon kosher salt
- ½ teaspoon cayenne pepper (optional, for a kick)
Before applying your rub, lightly coat the chicken with a neutral oil (like olive or vegetable oil). This not only helps the seasonings adhere beautifully but also promotes a richer, crispier skin. Be generous with your rub, ensuring you coat the entire exterior of the bird, including under the wings and legs. For an extra layer of flavor, gently loosen the skin over the breast and thighs and rub some seasoning directly onto the meat.
Gear Up for Grilling: Essential Equipment & Setup
Proper equipment and grill setup are non-negotiable for foolproof beer can chicken.
The Right Grill for the Job
The key to perfect beer can chicken is indirect heat cooking. This means the chicken cooks without direct exposure to the heat source, allowing it to roast gently and evenly.
- Charcoal Grills: Bank your hot coals to the sides of the grill, leaving the center clear for the chicken.
- Gas Grills: Light the outer burners to medium-low, leaving the center burner(s) off.
- Oven Roasting: While often a grilling staple, beer can chicken can also be successfully roasted in the oven. Preheat your oven to 375°F (190°C) and place the chicken on a baking sheet with a rack for air circulation.
Must-Have Accessories
- Drip Pan: Absolutely essential! Place a disposable aluminum drip pan directly under where the chicken will sit (in the clear spot on your grill). This catches rendering fat, prevents flare-ups, and makes cleanup a breeze. You can even add some vegetables to the drip pan with a little liquid for flavorful roasted sides.
- Reliable Meat Thermometer: This is your best friend. A good instant-read thermometer is crucial for accurately monitoring the chicken's internal temperature and ensuring it's cooked to perfection and safe to eat.
- Beer Can Chicken Stand (Optional but Recommended): While the can itself provides stability, a dedicated stand can offer extra support, especially for larger birds or if you're concerned about tipping.
- Long-Handled Tongs and Heat-Resistant Gloves: Essential for safe handling of hot chicken and cans.
The Cooking Process: From Prep to Perfection
With your chicken prepped and your grill ready, it's time to bring your beer can chicken to life.
Prepping Your Bird & Can
- Crack open your beer (and enjoy a sip!). Pour out or drink about half of the can's contents. You need enough liquid for steaming, but too much can lead to overflow.
- Carefully place the chicken over the beer can, ensuring it stands upright and stable. The chicken's legs should form a tripod with the can, providing a solid base.
- Position the seasoned chicken on the prepared grill over the drip pan, ensuring it's directly over the indirect heat zone.
Temperature Control is King
Maintain a consistent grill (or oven) temperature of 350-375°F (175-190°C) throughout the cooking process. Resist the urge to peek frequently, as every time you open the lid, you lose valuable heat, extending the cooking time. The chicken will typically cook for 1.5 to 2 hours, but always rely on temperature, not just time, to determine doneness.
Monitoring Doneness & Achieving Crispy Skin
Your beer can chicken is done when it reaches the following internal temperatures:
- Breast: 165°F (74°C)
- Thigh: 175-180°F (79-82°C)
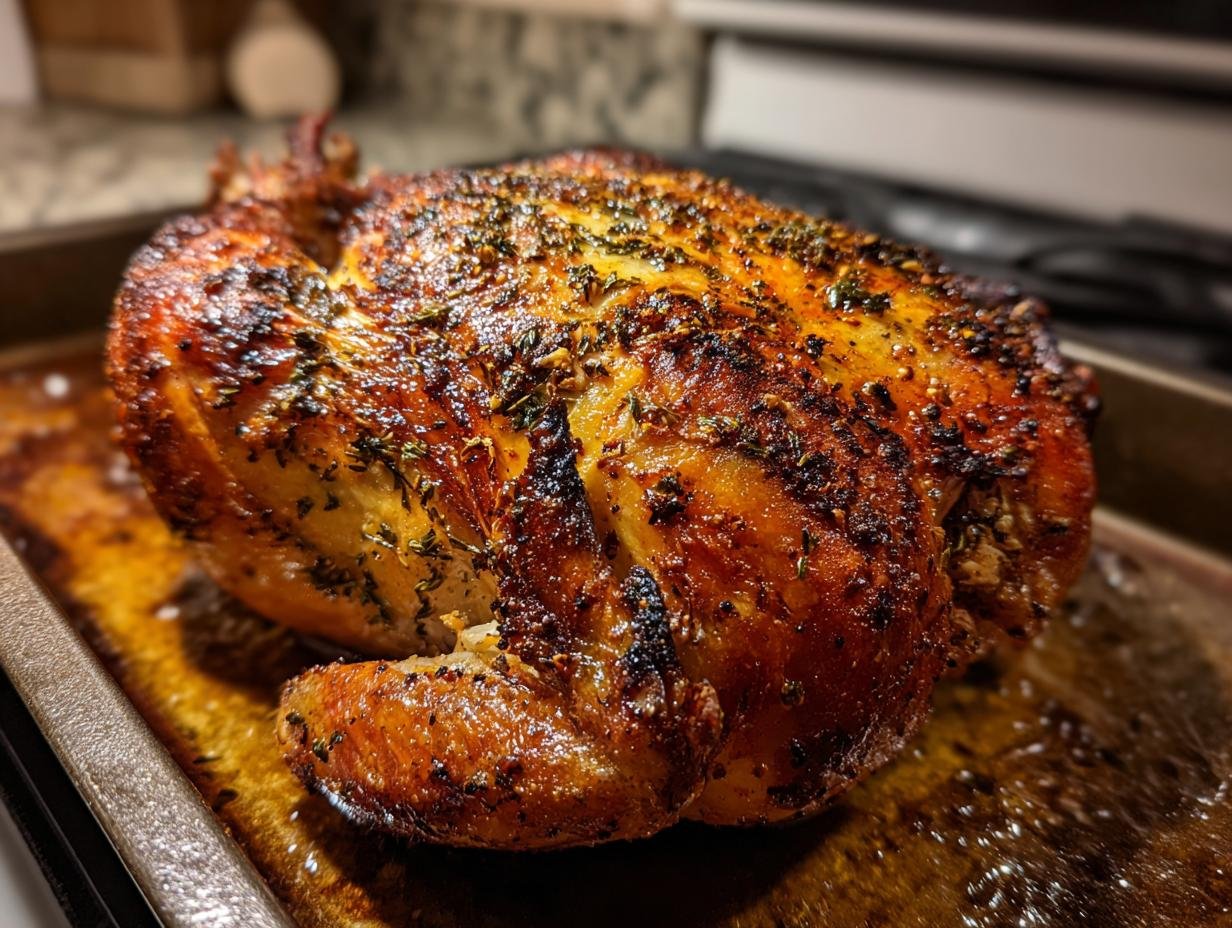
Insert your meat thermometer into the thickest part of the thigh (without touching bone) and the thickest part of the breast. The skin should be a beautiful golden-brown and delightfully crispy. If your skin isn't quite as crispy as you'd like in the last 15-20 minutes, you can briefly increase the heat slightly or move it closer to direct heat, but watch it carefully to prevent burning.
Safety First & Resting for Success
Handling a hot chicken perched on a can of scalding liquid requires caution.
Handling Hot Stuff
When the chicken is done, carefully remove it from the grill using sturdy tongs or heat-resistant gloves. Be extremely cautious, as the beer can and its contents will be piping hot. Place the chicken on a cutting board with a well to catch juices.
The Importance of Resting
This step is non-negotiable for juicy results. Let the chicken rest for at least 10-15 minutes before attempting to remove the can or carve. Resting allows the juices, which have been driven to the center of the bird during cooking, to redistribute throughout the meat, resulting in a more tender and flavorful experience. After resting, carefully lift the chicken from the can (it might be helpful to use a towel to grip the can). Discard the can and its contents, then carve and serve your magnificent beer can chicken!
There you have it – a truly foolproof method for achieving the most delicious, juicy chicken with tantalizingly crispy skin. This technique is more than just a recipe; it's a game-changer for anyone who loves to grill or roast. By understanding the simple science and following these detailed steps, you'll consistently produce a show-stopping meal that's perfect for any occasion. So grab your chicken, pick your favorite brew, and get ready to enjoy the ultimate beer can chicken experience!
